Using the importer plugin
Installing the Importer Plugin
You can download the importer plugin for free from our store by going to this link.
Once downloaded, it is installed as a regular WordPress plugin, not a Simple:Press plugin. This is because it connects to systems other than just Simple:Press
Installation Steps
- Download the Importer Plugin file to your desktop from our store using the link provided above.
- In the WordPress Admin dashboard select Plugins->Add new
- You should now see a screen with the list of plugins that are installed on your system. At the top left is a button labeled Upload Plugin. Click on it.
- You should see a dialog box asking for the plugin file. Navigate to your desktop and choose the file you downloaded in the first step of this procedure then click the Open button at the bottom of the dialog box
- You should now be back in the main Add plugin screen with the filename filled out. Just click the Install Now button.
- If all goes well you will see a new screen with a link that says Activate Plugin. Click on it. That will complete the plugin installation process.
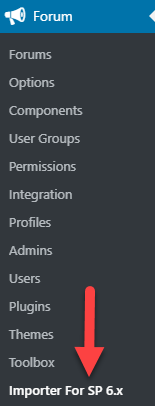
If all goes well, you should see a new item added to your FORUM Menu called Importer For SP 6.x. It usually shows up at the bottom of the menu:
Preparing To Import Data
Before using the importer to import data into Simple:Press we strongly recommend that you adhere to the following guidelines.
- Backup your system
- Make sure that you are using a FRESH install of Simple:Press – the importer will not import data into an installation that contains previous data. You can reset your Simple:Press installation by using the UNINSTALL link in the WordPress plugins screen (under the Simple:Press plugin):

- Test the import process on a copy of your site. Most reputable WordPress hosts can quickly clone your site to a staging location. Once you’ve figured out that the import process works there, you can then backup your live system and re-do the import process there
- Backup your system. Seriously – attempting to import new data from a 3rd party system into your production website without a backup is just begging for trouble!
Performing the Import
Now that you’ve installed our Importer Plugin and read our recommendations in our Preparing to Import document, its time to attempt importing data from your old forum. For this example we will use bbPress as the old forum:
- Go to FORUM->IMPORTER FOR SP 6.x. If you have an empty Simple:Press installation, you should see a screen that looks as follows:
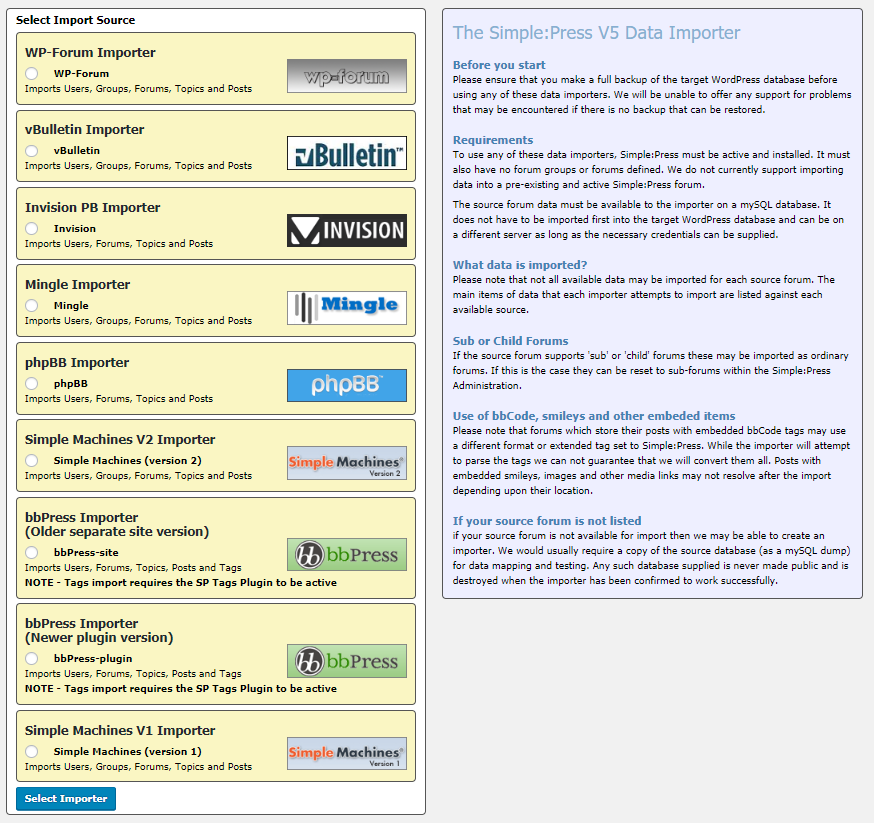
- Select your old forum from the list shown by clicking the circle next to your old forum and then click the SELECT IMPORTER button. You should now be shown a screen that looks similar to the one below. Depending on which importer you choose, the data required will be slightly different. Generally speaking though, we need to know where your old data is located, the database access information and, if its a wordpress plugin such as bbPress, the wp table prefix that is/was used for the plugin.
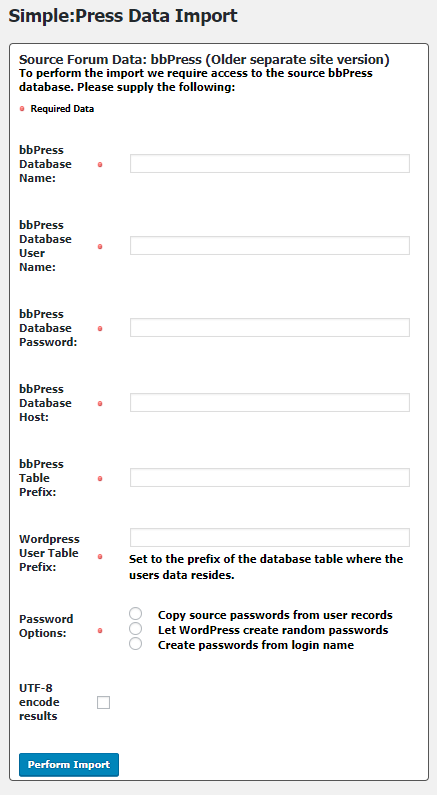
- After filling in the information, click the PERFORM IMPORT button at the bottom of the screen. If all is well, you will see a screen that looks similar to the following:
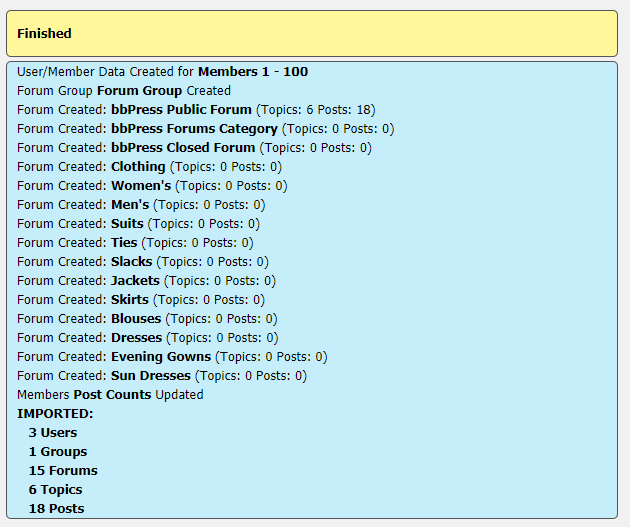
Once the import is complete, make sure to read the notes on the right hand side of the screen!
Post Import Processing
If the import results look good and error free then there may still be some tasks to perform before going live with your Simple:Press forum:
After the import is complete, you should perform the following steps:
- Reset your Simple:Press admin permission – go to FORUMS->ADMIN->MANAGE ADMINS and click on the UPDATE ADMIN CAPABILITIES for each admin.
Forum Administrators
As the user making the import, you have automatically been made an SP Administrator. If you wish other members to also act as forum Administrators then you will need to visit `Admins > Manage Admins to assign them this role.
Forum Moderators
If you wish to assign specific users as forum Moderators, you will need to visit User Groups > Manage User Groups to do so. When SP was installed a default ‘Moderators’ user group was defined which can optionally be used.
Forum Groups
Depending upon the source system, it is not always possible to import and re-create your forum Groups – sometimes also known as Categories. If this is the case then a single default Group would have been created. Go to Forums > Manage Groups and Forums to create your Groups and to move your forums into them.
Sub or Child Forums
It is not always possible to recreate sub or child forums and if this is the case, they will have been imported as standard forums. Changing these to sub forums is very easy and quick and can be accomplished at Forums > Manage Groups and Forums
Member and Guest Permissions
Simple:Press has a comprehensive permission system underpinning what your members and guests can see and do within your forum. Go to Permissions > Manage Permissions to set these up as you require them.
Options and Components
Please spend a little time working through and reviewing the various SP forum options, components and other attributes. Many conditions of your source forum can be recreated here and it is less frustrating to ensure you have them set how you want them from the very start of going live. Note that each Admin panel comes complete with popup help to explain the various options and settings available.
Clean Up
After your data has been imported, you should deactivate the Simple:Press importer plugin. Go to the WordPress PLUGINS screen and just deactivate it there. You can then delete it since there is no reason to keep it around.